I Built My Personal Website with Django, Wagtail, Render and Supabase
Introduction
I’ve been using Django for years, but building and deploying my personal website with Wagtail, Render, and Supabase still forced me to learn an entirely new set of problems.
In this article, I’ll walk you through how I built and deployed my own "Digital Atelier" from the ground up. I’ll show you the exact steps I took to move from a local setup to a fully functional, custom-owned site.
This article will cover:
- Core Architecture: Developing the site's primary framework using Django and Wagtail.
- Production Deployment: Hosting the live application on the Render platform.
- Database Integration: Implementing Supabase PostgreSQL as the primary data engine.
- Cloud Storage: Provisioning Supabase Storage for persistent media hosting and delivery.
- Troubleshooting: Identifying and resolving standard deployment issues and configuration errors.
- System Logic: Mapping the data flow between the application server, database, and storage layers.
- Environment Management: Maintaining strict separation between Development and Production environments.
Tools and stack
Here’s the stack I'll use:
| Technology | Purpose |
|---|---|
| Django | Backend framework |
| Wagtail | CMS for content management |
| Render | Hosting platform |
| Supabase | PostgreSQL database + storage |
| cron-job.org | Keeps free Render instance awake |
Why did I choose this stack?
- CMS functionality - I used Wagtail alongside Django for a cleaner admin UI and a flexible content structure.
- Cloud deployment - Render eliminates infrastructure management and provides continuous deployment from Git providers (GitHub/GitLab), with instant SSL and automatic scaling.
- A real PostgreSQL database - Supabase lets me create a production-ready PostgreSQL database.
- Media storage - Supabase Storage provides a scalable way to manage large files like images and videos, using Postgres to manage access permissions.
- Free-tier hosting - In this article, I'll use the free-tier versions of Render and Supabase. Because Render’s free web services sleep after inactivity, the app may take a while to load after being idle. To keep the web server running consistently, I'll set up a cron job that requests the site every 5 minutes to prevent the service from sleeping.
Screenshot location: Place a screenshot of the tech stack or dashboard after this section.
I chose this stack to push beyond my usual setup while still building on tools I trust. Django and Wagtail are familiar to me, and they offer the stability and structure I want for managing content long-term.
At the same time, this project is an opportunity to explore new tools like Render and Supabase, which I haven’t used before. Combining the familiar with the unfamiliar lets me stay productive while deliberately expanding my stack.
Planning the structure
Before writing a single line of code, I mapped out the structural blueprint to ensure a seamless flow between the user and the backend.
1 2 3 4 5 6 7 8 9 10 | |
The Stack & Data Flow
- Client-Side: The user interacts with the browser.
- Application Layer: A Django + Wagtail web service handles the rendering and logic.
- Persistence Layer: Supabase (PostgreSQL) manages all relational data.
- Asset Management: Supabase Storage hosts all media and static files.
1 2 3 4 5 6 7 8 9 | |
Inspiration of the Design
I moved away from "quick-build" platforms because I wanted complete creative sovereignty. This site is more than a portfolio; it is an Digital Atelier, a custom-coded workshop where my creativity, technical passion, and teaching spirit converge.
Visualizing the Site Hierarchy:
- HomePage: The entry to the studio.
- Musings: A archive for reflections and long-form writing.
- Tech: A hub for technical tutorials and "learning-out-loud" posts.
- Atelier (Photo Gallery): A dedicated space for my visual photography.
Inspiration Note: I took the visual polish of my previous Squarespace site and used it as a prototype to build a faster, more personal engine that I can call my own.
1. Setting up the LOCAL/DEV environment
1.1. Create virtual environment
1 2 3 | |
1.2. Fork then Clone Repository
1 2 | |
1.3. Install Dependencies
1 2 3 4 5 6 7 8 9 10 11 12 13 14 | |
1 | |
1.4. Local file setup
1 2 3 4 5 6 7 8 9 10 11 12 13 14 15 16 17 18 19 20 21 22 23 24 25 26 27 28 29 30 31 32 33 34 35 36 37 38 39 40 41 42 43 44 45 46 47 48 49 | |
1 2 3 4 | |
1.5. Access Homepage
1 | |
1.6. Configure Wagtail Site in Admin
After creating the superuser and accessing the Wagtail admin panel, the next step is configuring the website structure properly.
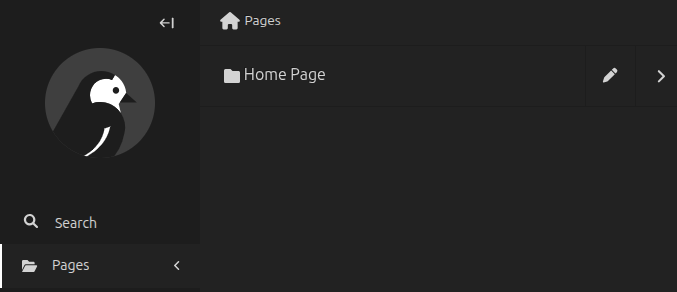
1.6.1. Add a Home Page:
a. Inside the left sidebar:
1 2 | |
b. After deleting the page, create a new page called “Home Page”:
1.6.2 Go to Settings, then Sites:
a. Click “Add a site”:
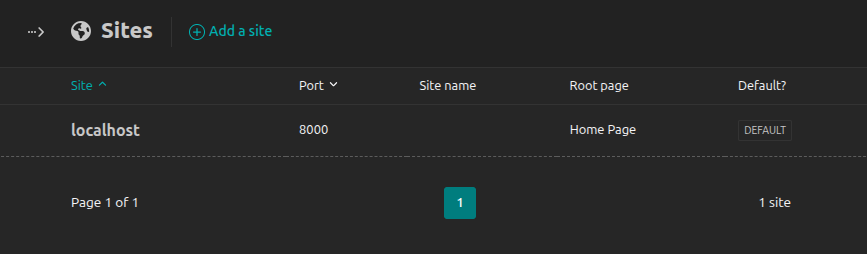
b. Set the following:
| Hostname | localhost |
|---|---|
| Port | 8000 |
| Root Page | Home Page |
| Is default site | yes |
c. Go to “Pages” → “Home Page”, then add the following:
| Page Name | Slug |
|---|---|
| About Page | about |
| Tech Page | tech |
| Musings Page | musings |
| Atelier Page | atelier |
1.7. Upload favicon
The favicon is the small icon displayed in the browser tab beside the website name.
To upload it,
1.7.1. Go to Settings → Favicon.
1.7.2. Configure the following:
a. App Name — the name of the website.
b. App Theme Color (optional) — mainly used for supported mobile browsers.
c. Base Favicon Image — upload the favicon image here
1.8. Upload images
These images will be used in the cover photo of the posts.
1.8.1. Go to Images.
1.8.2. Click “Add an image”.
1.9 Check the website:
1 | |
1.10 Write custom articles in Markdown format
Instead of using standard rich text editors, I built a Markdown-based pipeline to manage my content. This approach treats my writing like code.
If you'd like to dive deeper into how Markdown works, I’ve put together a dedicated Markdown Cheat Sheet. Feel free to skim through it for a quick reference on syntax and formatting tips.
2. Deploy the Website:
2.1. Push to git
Before deploying the website to GitHub and Render, I first needed to push the latest version of the project repository.
The repository already contained the previous version of my website, so instead of creating a new one, I decided to continue using the same repository and simply push the new changes to the master branch.
1 2 3 | |
I also try to be more intentional when writing commit messages. At first, it’s tempting to write vague commits like update, fix, changes.
Over time, messy notes become useless when I'm trying to look back at the project history. Keeping the commit messages clear makes it much easier to see exactly what changed at a glance and track down bugs faster.
2.2 Create Supabase Account
I chose Supabase for this build because I wanted to explore it firsthand. It's a developer-friendly, open-source alternative to Firebase that handles the heavy lifting of backend infrastructure. Since it's built on PostgreSQL, it provides everything I need, like instant APIs, file storage, and authentication.
2.2.1 Create a project in Supabase.
2.2.2 Once created:
- Go to Project Settings
- Open Database
- Copy the connection string
The connection string follows this format:
postgresql://postgres:[YOUR_PASSWORD]@db.xxx.supabase.co:5432/postgres
I added this string to my environment variables so it can be securely pulled into the project’s settings file.
1 2 3 4 5 6 7 8 | |
2.3: Create Render Account
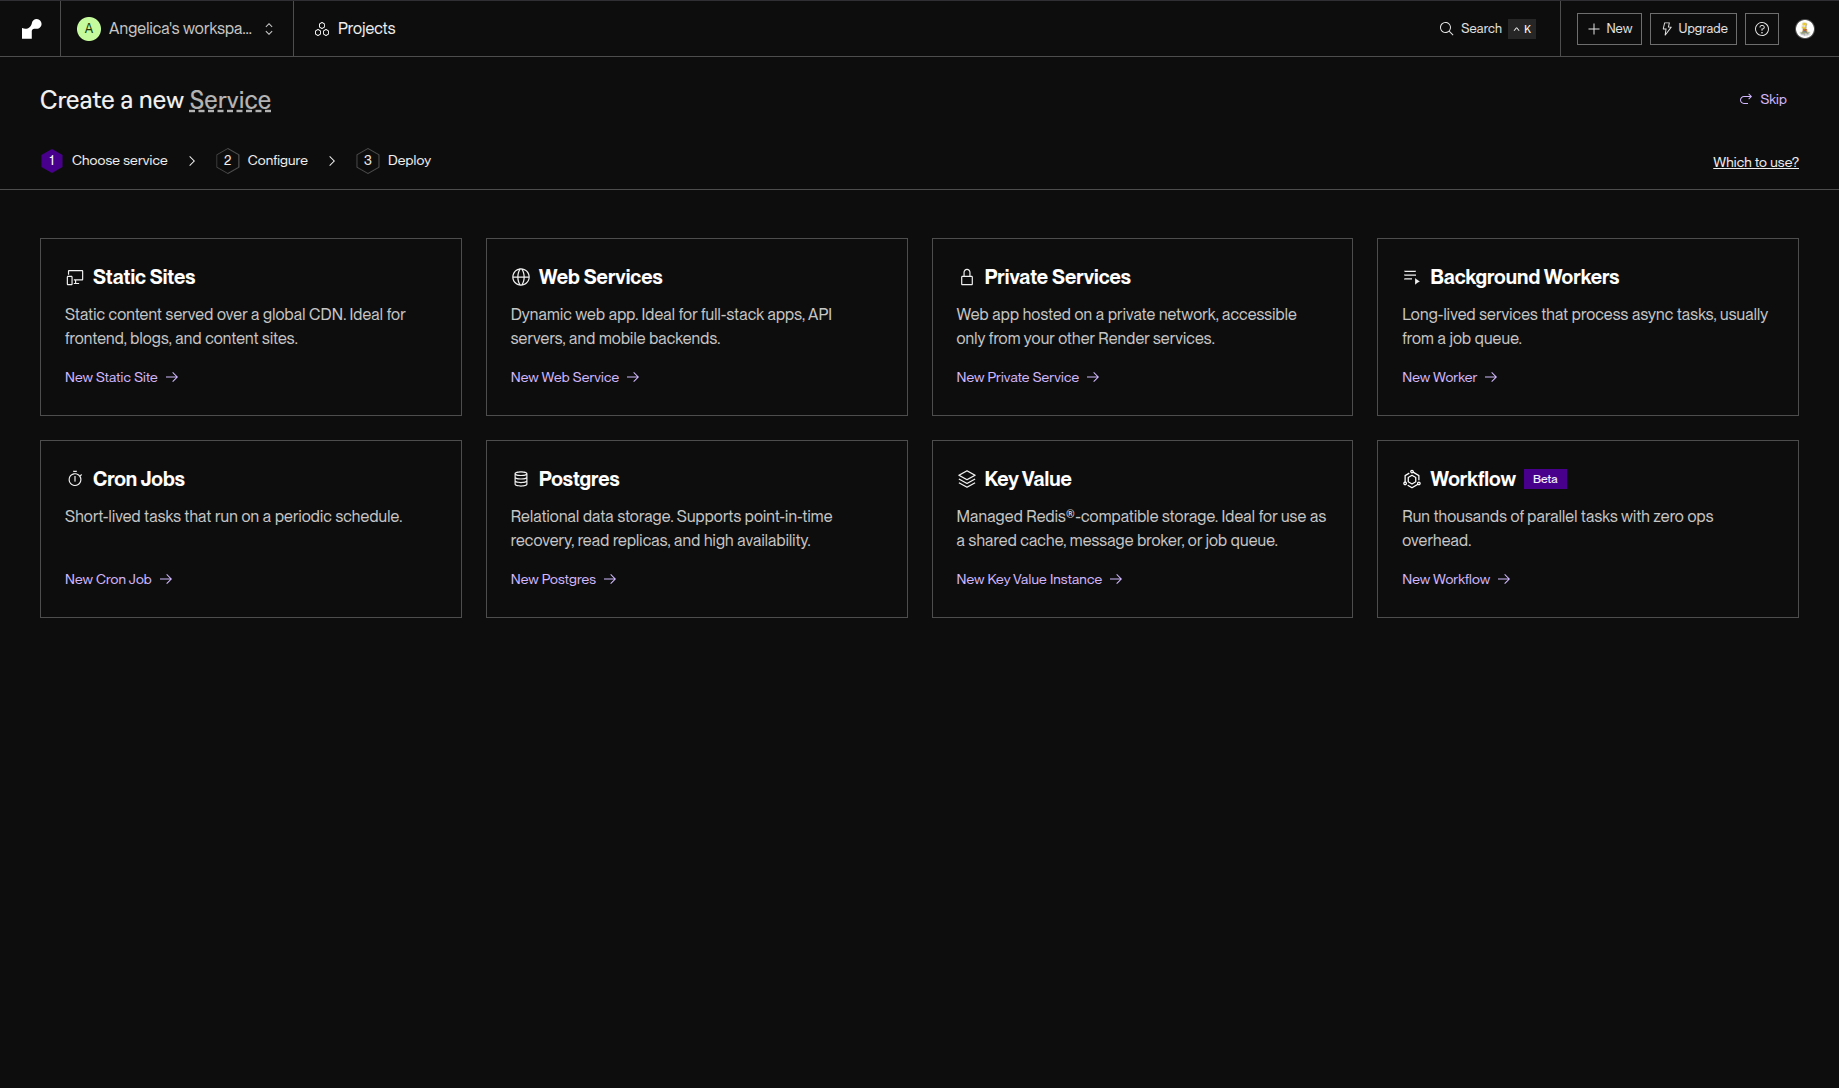
2.3.1 Create a Render account.
2.3.2 Create a New Web Service.
2.3.4 Connect the GitHub repository.
2.3.5 I configured the following:
1 2 3 4 5 6 7 | |
1 2 3 | |
Common Challenges & Solutions:
1. Root Directory
The root directory must align with the location of manage.py.
If the build configuration contains pathing errors, the deployment will fail. Specifically, Render must be able to locate manage.py, requirements.txt, and the Django project root to initialize the build process.
If the repository uses a nested structure, such as:
1 2 3 | |
The Root Directory setting in the Render dashboard must be explicitly set to mysite rather than the top-level portfolio directory. This ensures the environment correctly maps the working directory to the application entry point, a common configuration oversight that leads to failed deployments.
2: Configure Environment Variables
Inside Render, I needed to add the following environment variables:
1 2 3 4 5 6 7 8 9 10 11 | |
3: Static Files Configuration
To optimize the production environment for static asset delivery, I needed to implement WhiteNoise. This allows the web service to serve its own static files without relying on a dedicated CDN or external server.
1 | |
Register the middleware in settings.py. Make sure it is positioned immediately following the Django SecurityMiddleware:
1 2 3 4 | |
Define the collection directory and URL prefix:
1 2 | |
Why this matters:
In a local development environment, Django’s runserver automatically manages static file discovery. However, in a production environment, Django is not designed to serve these files efficiently.
Without a library like WhiteNoise to intercept these requests, the application will fail to resolve paths for CSS, images, and JavaScript—resulting in a broken UI and unstyled admin dashboard. This remains one of the most frequent configuration errors during initial deployment cycles.
4: Media Storage and Supabase Storage
In production environments, it is critical to distinguish between Static and Media assets, as they require different handling within the architecture.
- Static Assets: Immutable files including CSS, JavaScript, and framework dependencies that are part of the codebase.
- Media Assets: Dynamic, user-generated content such as uploaded images and CMS-managed blog assets.
Storing media files directly on the local filesystem of Render instances. Because Render’s free tier utilizes ephemeral storage, any files saved locally will be lost upon a service restart or redeployment.
To solve this, I implemented Supabase Storage as an external object storage solution. This integration involves specific configuration logic, which warrants a dedicated article to explain the system fully.
5: Storage Policies and RLS
Integrating Supabase Storage requires a precise configuration of its security layer. If media assets fail to resolve on the front end, the root cause is rarely found in the Django configuration; it typically resides within the Storage Access Policies.
Understanding Row-Level Security (RLS)
Supabase implements Row-Level Security (RLS) to govern interactions with the storage.objects table. I must explicitly define granular policies to authorize specific actions:
- SELECT: Read access for public or authenticated users.
- INSERT/UPDATE: Permissions for file uploads and modifications.
- DELETE: Authority to remove objects from the bucket.
Implementation Example To enable public read access for a specific bucket, I must execute a SQL policy similar to the following:
1 2 3 4 | |
Security Best Practices
It is critical to avoid blindly implementing wide-open policies found in documentation. While disabling RLS or allowing ALL
actions for ANON roles might resolve immediate upload failures, it creates significant security vulnerabilities. A common beginner pitfall is bypassing the security layer entirely to fix a "broken" configuration—always prioritize the Principle of Least Privilege by granting only the minimum permissions necessary for the application to function.
6: Migrations in Production
One common issue I encountered involved manual migration management. When I modify models or page structures in Wagtail, Django may not always auto-detect those changes across all apps. I had to explicitly target the home app to generate the necessary files:
1 2 | |
Never assume the migration state is identical between environments. If the production site behaves differently than the local build, always verify the migration files first. Ensuring the database schema is in sync is a critical step in any deployment workflow.
7: Using Free-tier
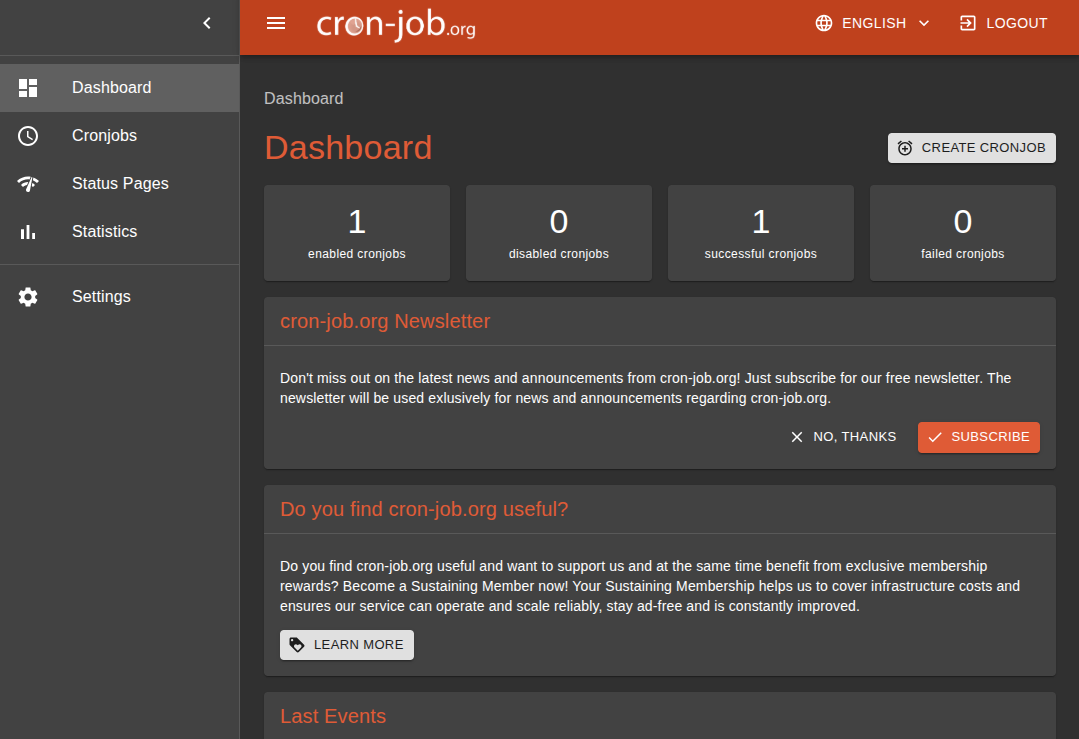
Since I am using Render’s free tier, the service is subject to "spinning down" after periods of inactivity. This results in cold starts, where the first request to the site can be significantly delayed while the instance reboots.
I implemented a workaround using cron-job.org. This service sends periodic HTTP pings to the site, effectively keeping the instance "awake" and responsive.
Use Cases & Tradeoffs
- Ideal for: Portfolios, live demos, and personal projects where high availability isn't critical.
- The Reality: While this is a common and effective hack for beginners, it is not a solution for production scalability. It is an architectural workaround for hosting constraints, not a substitute for a paid, persistent tier.
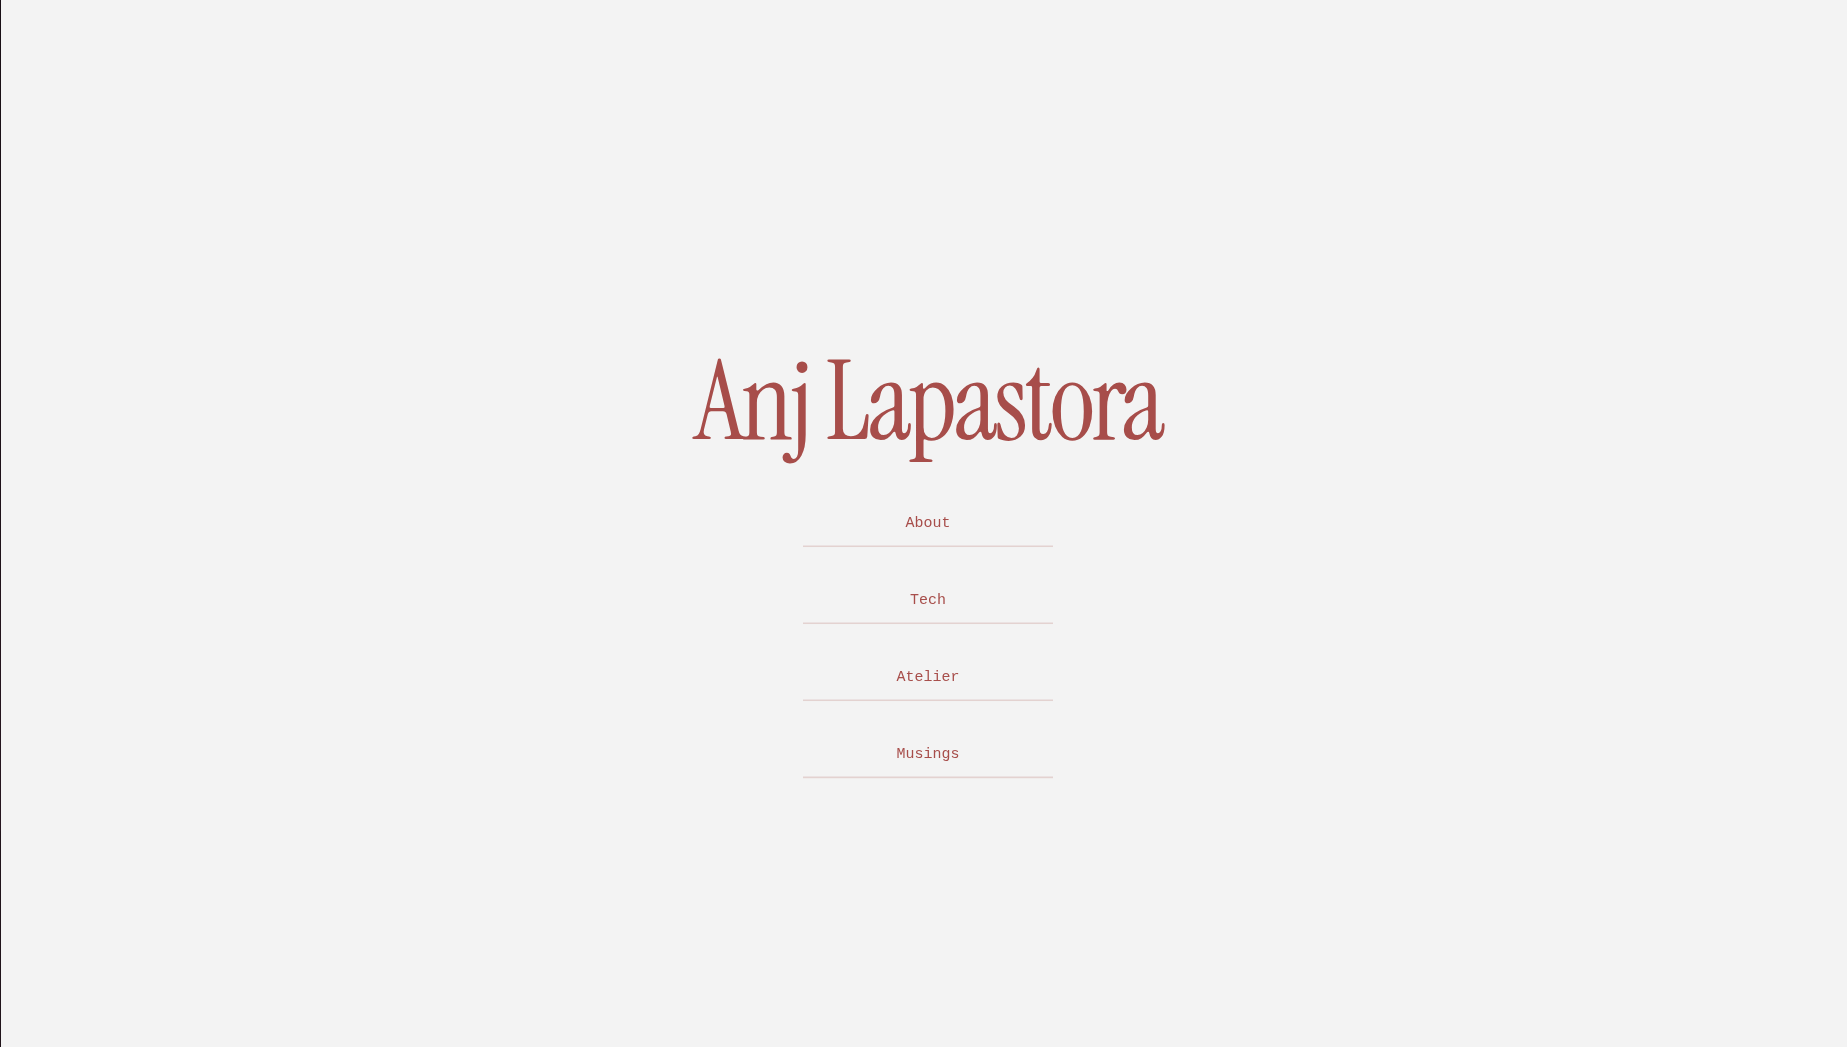
Final Result
After resolving a few initial technical hurdles, here is the final deployment of the site.
The process demonstrated that building from scratch provides the flexibility to implement any specific feature or vision. My next steps involve refining the UI and optimizing the codebase for better performance and scalability.